I was thinking something like one of these little pretties would be perfect for the beach condo!
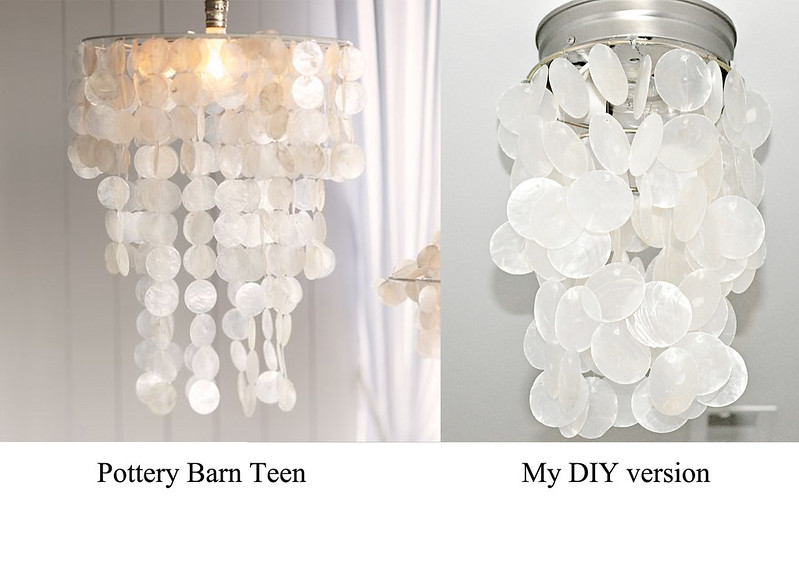
Below is an example of one of Pottery Barn Teen's capiz chandeliers that retails for $129 before tax & S&H...
I have wanted a new craft project for a while now. The DIY capiz chandeliers can be found all over Pinterest and the Blogosphere! I thought this might be the perfect project for the beach condo!
In the main hallway at the beach, we had two ceiling fixtures like this...
I decided to make two capiz "hanging baskets" and attach them to the base of these existing light fixtures after removing the glass globes.
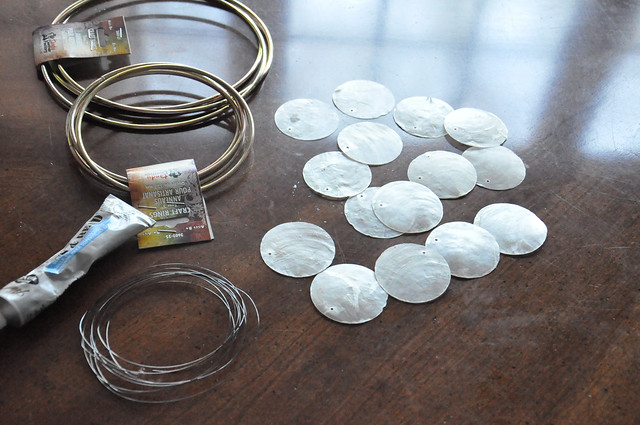
Most of the DIY fixtures online are made using circles cut out of wax paper. This offers the same look as the shells, but at a much cheaper price. I considered the wax paper, but with the amount of moisture at the beach, I opted to use the actual capiz shells. I was afraid that over time, the wax paper would curl. I found a distributor on ebay who sells 2" shells with a pre-drilled hole. I ordered 200 shells...100 for each fixture. These were about $55 with shipping and handling.
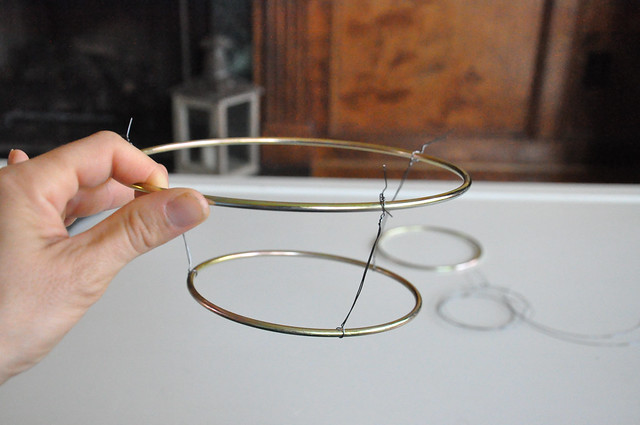
OK...this is how I made the basket structure to attach the shells to...this is NOT professional, but it worked:
I first got two sizes of metal craft rings (5" and 7" in diameter) and some wire. Since I had a 40% off coupon for Michaels, the rings were only about $5 or $6 total. I already had the wire and fishing line.
I will admit that these "baskets" were not the most structurally sound, but it works.
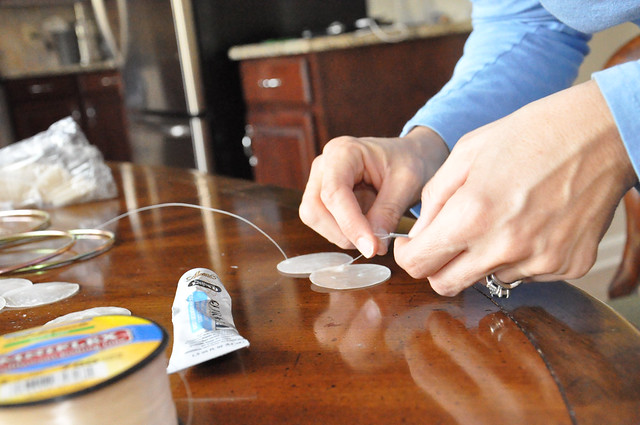
I made two different sizes of shell strands. The strands for the bottom ring had 4 shells each, and the strands for top ring had 3 shells. I just knotted the fishing line at about 2 inch intervals and threaded a shell after each knot. This was the most time consuming part. The predrilled holes were large so I had to make the knots large enough that the shell would not slip through. I also used some bead glue and then hot glue to further secure the shells and knots.
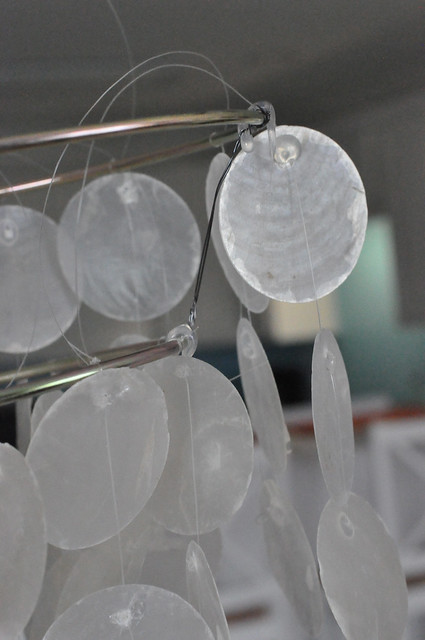
After making all the strands, I then just tied them around the metal craft rings.
Again I put glue on the knots to secure them.
I wasn't sure how I was going to attach the capiz baskets to the existing light fixture base, but the glass globes were held in place by three screws.
I removed the glass globes, and then made 1" diameter loops out of the fishing line. These were tied around the top metal craft ring at about the same intervals as the screw holes in the base of the light fixture. With JC's help, we then threaded each screw through one of these 1" loops and secured the screw into the base of the light. This was not a precise method, but it worked!
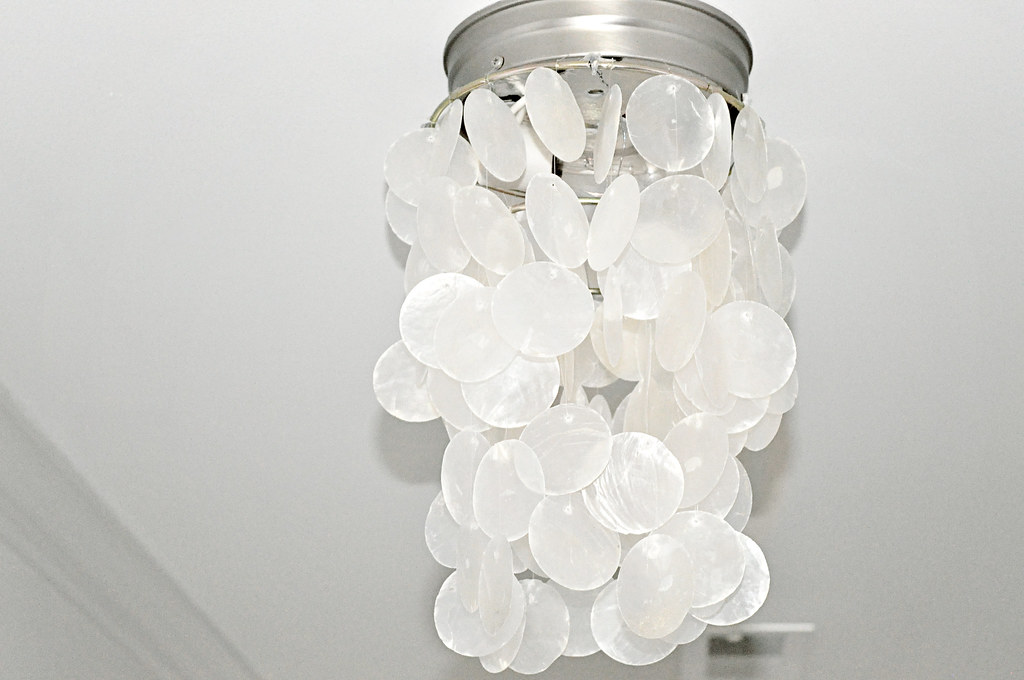
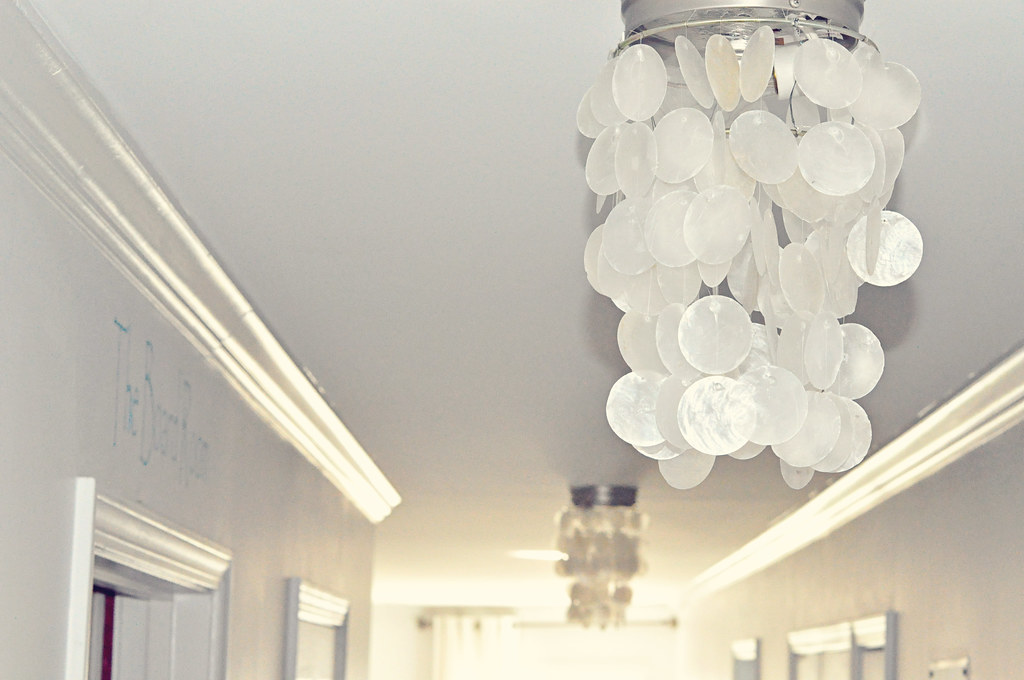
And here's the finished product:
Each light fixture cost about $30!








5 comments:
Hi! Found your blog from our photography class facebook group! Wow - I am so impressed that you were so creative and resourceful in recreating these lovely light fixtures! Looking forward to taking Lisa's class together, Gwen
Wow! Great job, I think they are more beautiful than the originals.
Actually like yours better!!! You amaze me with your creative ways..so talented!!!
Great Job!! I made one as well, you haven't mentioned the shadow the shells cast, soo beautiful!
I love this!! I have the PB one that is light green and light blue. I got it at the pb outlet and it didn't come with the lamp. I found an old floor lamp and switched it out for the shade but the movers bent the stand when we recently moved to Chapel Hill. Now it's laying on my dining room table and I have to start all over. I would love to hang it from the ceiling but my new house has all recessed lights- boo.
Post a Comment